Deploying AIO
Categories:
For users who are new to KubeClipper and want to get started quickly, it is recommended to use the All-in-One installation mode, which can help you quickly deploy KubeClipper with zero configuration.
Deploy KubeClipper
Download kcctl
KubeClipper provides a command line tool 🔧 kcctl to simplify operation and maintenance. You can download the latest version of kcctl directly with the following command:
# The latest distribution is installed by default
curl -sfL https://oss.kubeclipper.io/kcctl.sh | bash -
# Install the specified version
curl -sfL https://oss.kubeclipper.io/kcctl.sh | KC_VERSION=v1.2.1 bash -
#If you are in China, you can use cn environment variables during installation, in this case we will use registry.aliyuncs.com/google_containers instead of k8s.gcr.io
Curl -sfL https://oss.kubeclipper.io/kcctl.sh | KC_REGION=cn bash -
You can also download the specified version from the [GitHub Release Page] ( https://github.com/kubeclipper/kubeclipper/releases ) .
Check if the installation was successful with the following command:
Kcctl version
Start installation
In this quickstart tutorial, you only need to execute one command to install KubeClipper with a template like this:
Kcctl deploy [--user root] (--passwd SSH_PASSWD | --pk-file SSH_PRIVATE_KEY)
If you use the ssh passwd method, the command is as follows:
Kcctl deploy --user root --passwd $SSH_PASSWD
The private key is as follows:
Kcctl deploy --user root --pk-file $SSH_PRIVATE_KEY
You only need to provide the ssh user and ssh passwd or ssh private key to deploy KubeClipper natively.
After executing this command, Kcctl will check your installation environment, and if the conditions are met, it will enter the installation process. After printing the following KubeClipper banner, the installation is complete.
 _ __ _ _____ _ _
| | / / | | / __ \ ( _)
| |/ / _ _ | |__ ___| / \/ | _ _ _ __ _ __ ___ _ __
| \| | | | ' _\/_ \ | | | | ' _\ | '_\/_ \ '__|
| |\ \ | _ | | | _ ) | __/ \__/\ | | | _ ) | | _ ) | __/ |
\ _ |\ _ /\__, _ | _ .__/ \___|\____/ _ | _ | .__/| .__/ \___| _ |
| | | |
| _ | | _ |
You can also deploy the master version of KubeClipper to experience the latest features
- Install kcctl
curl -sfL https://oss.kubeclipper.io/kcctl.sh | KC_VERSION=master bash -
- Set environment variables on the installation server
export KC_VERSION=master
- Deploy KubeClipper AIO environment
kcctl deploy
Login to console
After the installation is complete, open a browser and visit http://$IP to enter the KubeClipper console.
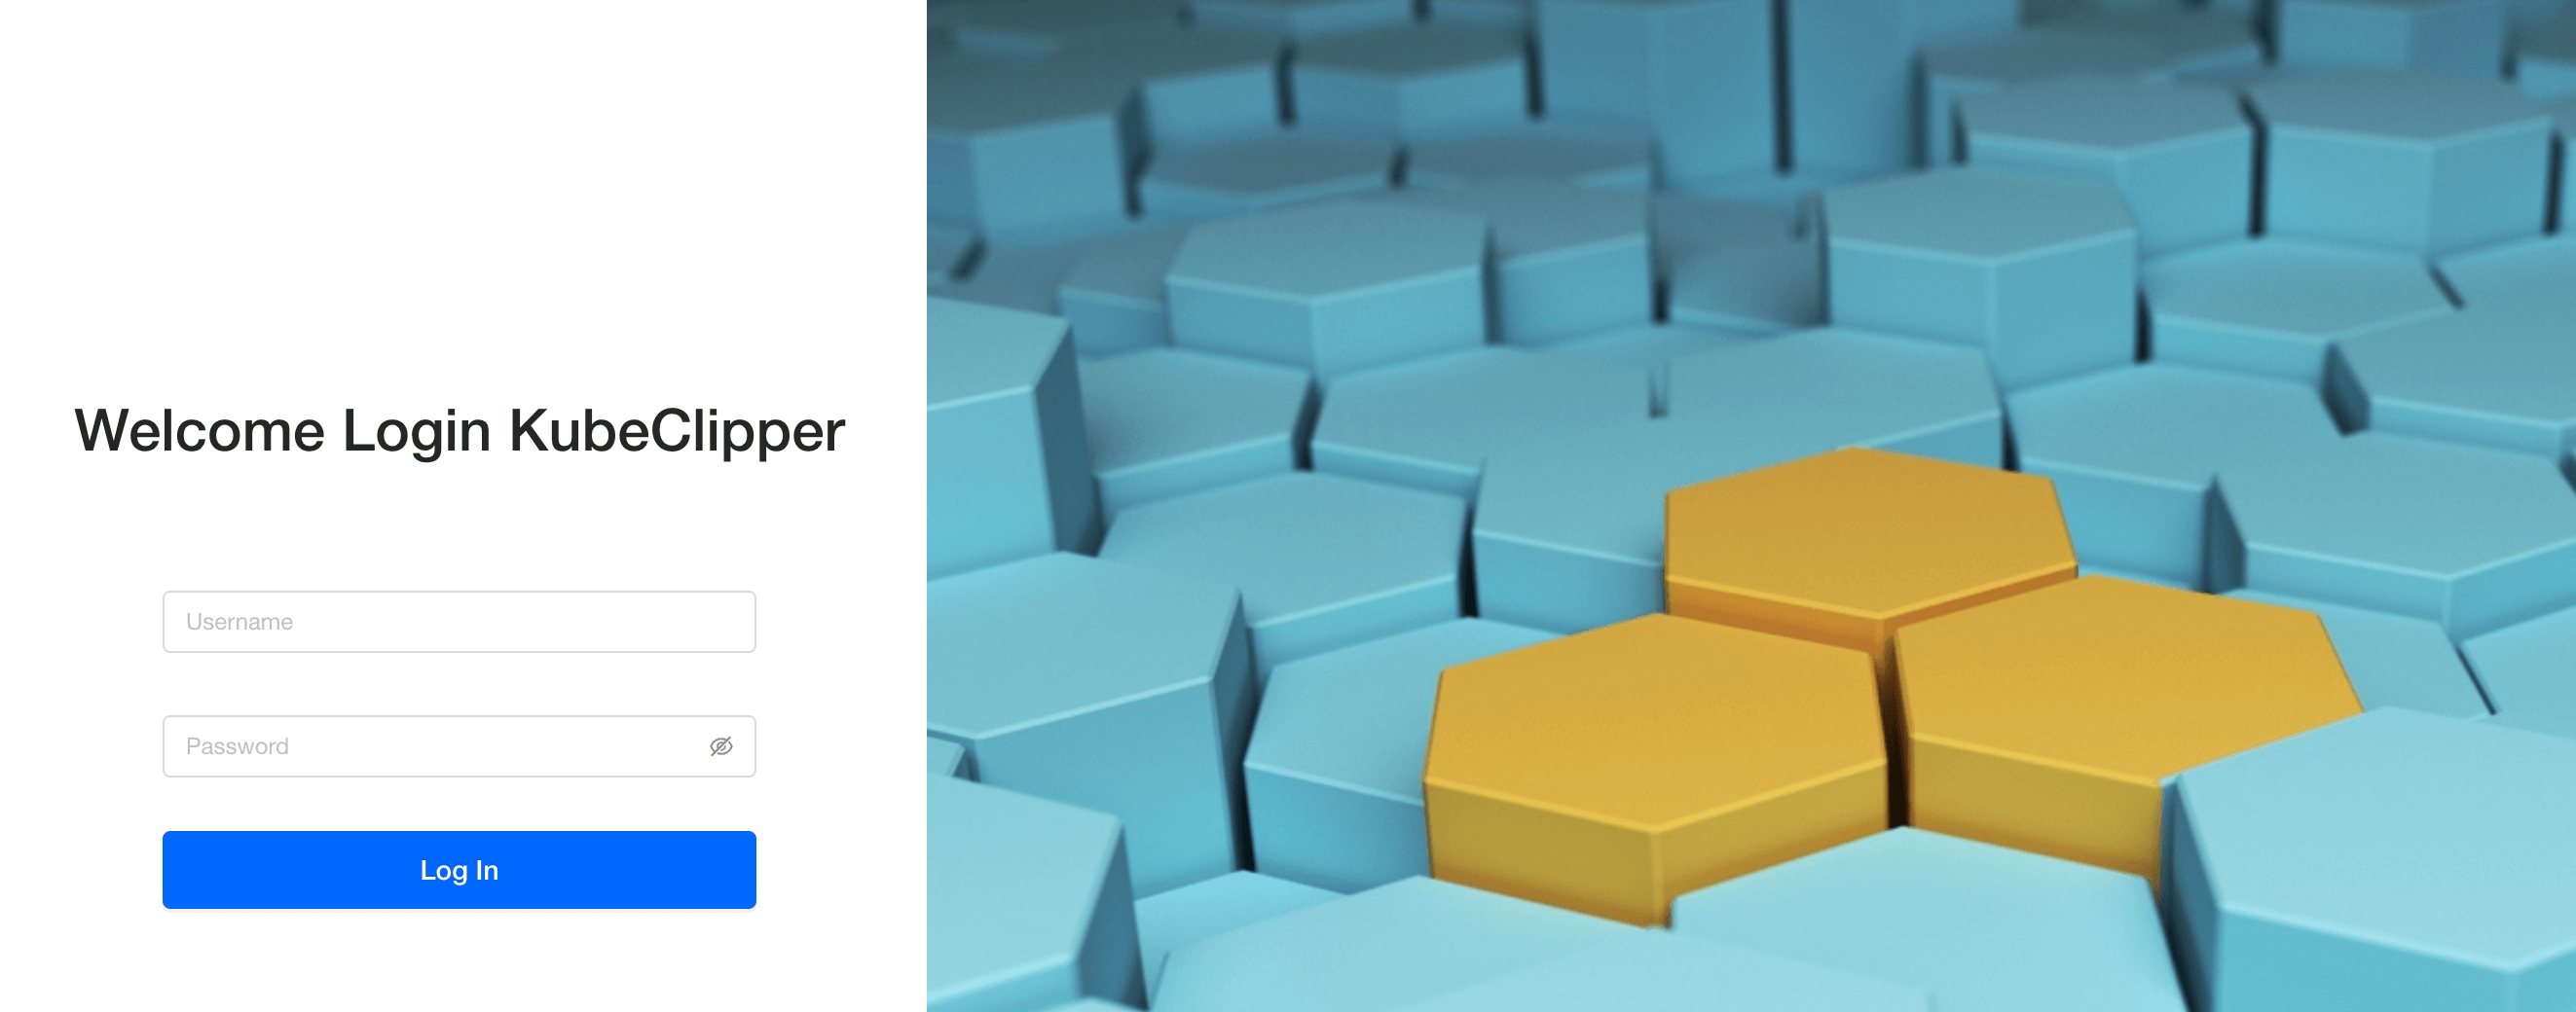
You can use the default account password " admin/Thinkbig1 " to log in.
You may need to configure port forwarding rules and open ports in security groups for external users to access the console.
Create k8s cluster
After successful deployment you can create a k8s cluster using the ** kcctl tool ** or via the ** console ** . Use the kcctl tool to create it in this quickstart tutorial.
First, use the default account password to log in and obtain the token, which is convenient for subsequent interaction between kcctl and kc-server.
Kcctl login -H http://localhost -u admin -p Thinkbig1
Then create a k8s cluster with the following command:
NODE = $ (kcctl get node -o yaml | grep ipv4DefaultIP: | sed's/ipv4DefaultIP : //')

Kcctl create cluster --master $NODE --name demo --untaint-master
It takes about 3 minutes to complete the cluster creation, or you can use the following command to view the cluster status
Kcctl get cluster -o yaml | grep status -A5
You can also go to the console to view the real-time log.
Entering the Running state means that the cluster installation is complete, you can use the kubectl get cs command to view the cluster health.
Feedback
Was this page helpful?
Glad to hear it! Please tell us how we can improve.
Sorry to hear that. Please tell us how we can improve.